Welcome Beautiful!
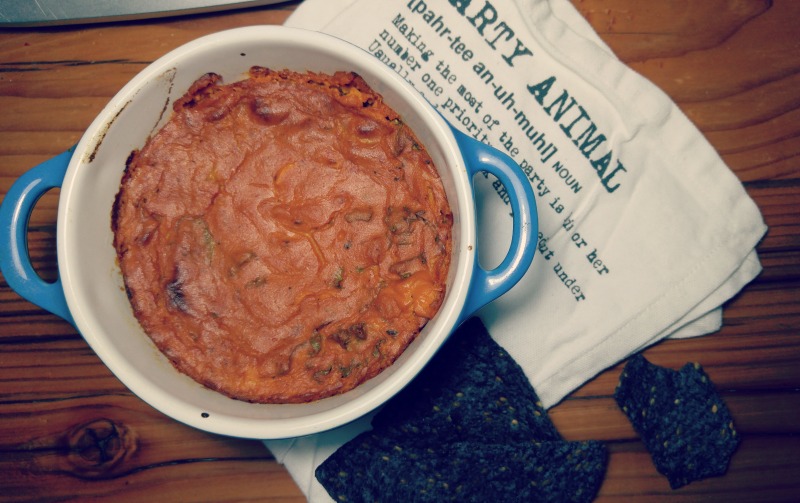
I am so happy to share my favourite nacho dip recipe with you. It’s cheesy and a little spicy and completely delightful with great chips. I’m sharing this especially for you, Debbie! 🙂
I super-frequently make this dip, from the FABULOUS Oh She Glows, and then I send out the recipe to friends and family who ask for it (which I snag from this link on the beautiful Dreena Burton’s Plant Powered Kitchen).
Anyway, a bunch of times now, I’ve sent out the recipe from the Dreena Burton link, promised I do nothing different, and then I’ve had people make it and say, “it didn’t turn out like yours! What do you do differently?”
So, I’ve written out the steps WHILE making it this time, in order to make my version perfectly repeatable in your gorgeous kitchen. (ahem, and sorry everyone, I actually do make some swaps I didn’t even notice)
With love, here’s my slightly adapted recipe of Angela Liddon’s Life Affirming Nacho Dip:
Note: this makes a double batch. I love doubling it, because it means I can put the uncooked dip in 3-4 smaller, greased, oven-safe dishes in the fridge, and heat up a great lunch really quickly throughout the week by popping one in my toaster oven for 20 minutes at 350 F. Feel free to half everything for a great dip for 4-6 people as an appetizer instead.
Last note: I do buy everything organic. I know that makes everything I make much healthier, it means more nutrients are going to my body, and it means that the taste is fresher – so if you still can’t *quite* get it right, that could be the impact you’re missing.
Ingredients for The Blender Cheese:
- 1 3/4 cups cashew bits (or two cups cashew halves or two cups whole cashews)
- 4 medium-large carrots
- 4 slightly heaping tbsp. nutritional yeast
- 1/4 cup fresh lemon juice (about one super-squeezed, juicy lemon)
- 2-3 garlic cloves (3 if they’re small, 2 if they’re big)
- 2 1/2 tsp. salt
- 1 1/2 tsp. chili powder
- 10 grinds back and forth of pepper
- 1 1/2 cups filtered water (plus more to soak the cashews, and boil the carrots)
Ingredients to add once the Blender Cheese is made:
- One 700 mL jar of pasta sauce (I use Organic Value Roasted Garlic)
- 3 cups of chopped, sweet onion (about 1 1/2 medium size yellow/white onions)
- 2 cups thinly sliced kale or spinach (I’ve used both before, it’s just whichever I have in the fridge), this was about 3 small stalks of curly kale, stems removed, sliced really thinly
The method to my cooking madness magic:
- Preheat your oven to 350 F, if you’ll be baking some of this now.
- Put the cashews in a medium-size bowl and add water until the water level is about 2-3 times as high as the cashews. Add 2 tsp. sea salt and stir the water and cashews. It may go slightly cloudy – that’s great. Leave the cashews soaking in this salt-water mixture for now.
- Bring a pot up to boil with about a cup of water in it. I like to use my high-edged cast iron pan, because I like extra flavour and bonus iron.
- Peel, rinse and chop the carrots. The thicker you cut them, the slightly longer you’ll need to boil them. I usually cut them into 1/2 – 1 cm rounds, roughly.
- Once the water (from step 3) has boiled, add the chopped carrots and cook until they’re tender (about 10 minutes – until you can easily press a fork into them).
- In the meantime, to your blender, add the nutritional yeast, lemon juice, garlic cloves, salt, chili powder, pepper and 1 1/2 cups filtered water.
- When the carrots (from step 5) have boiled and are tender, drain and add the carrots to your blender.
- Strain out the salt water from the cashews. Rinse them with fresh filtered water. And then add the rinsed cashews to your blender. If you’re wondering why we soaked these cashews in salt water that you just strain off, read the note following this recipe.
- Secure the lid onto the blender, and blitz on high for about 1 minute. I use a Vitamix, and the highest speed is perfect. You may have to blend for longer if you’re not using a high-speed blender. You want to see, while it’s blending, that everything is uniformly yellow-orange. If most of the bottom is yellow-orange but the top is still carrot-y, add 1/4 cup more water and keep blending.
- Pour and scrape all of that yellow-orange cheesy sauce into a big bowl, and add the full jar of pasta sauce, the chopped onion and the thinly sliced kale.
- Stir it all up until the kale is well-covered and the onion is evenly dispersed throughout the sauce.
- Grease a baking dish or high-edge cast-iron pan with olive oil. Add as much of the dip as you’ll be eating in this sitting, and put the rest in the fridge (if you’re not using it all).
- Bake it in the oven for 20-30 minutes (the full 30 if you’re baking the whole batch, closer to 20 minutes if you’re baking smaller amounts). I like to see the top form a darker orange skin, and the edges of the dish be browned where the sauce was – that’s how I know it’s ready. (And that it’s all hot inside).
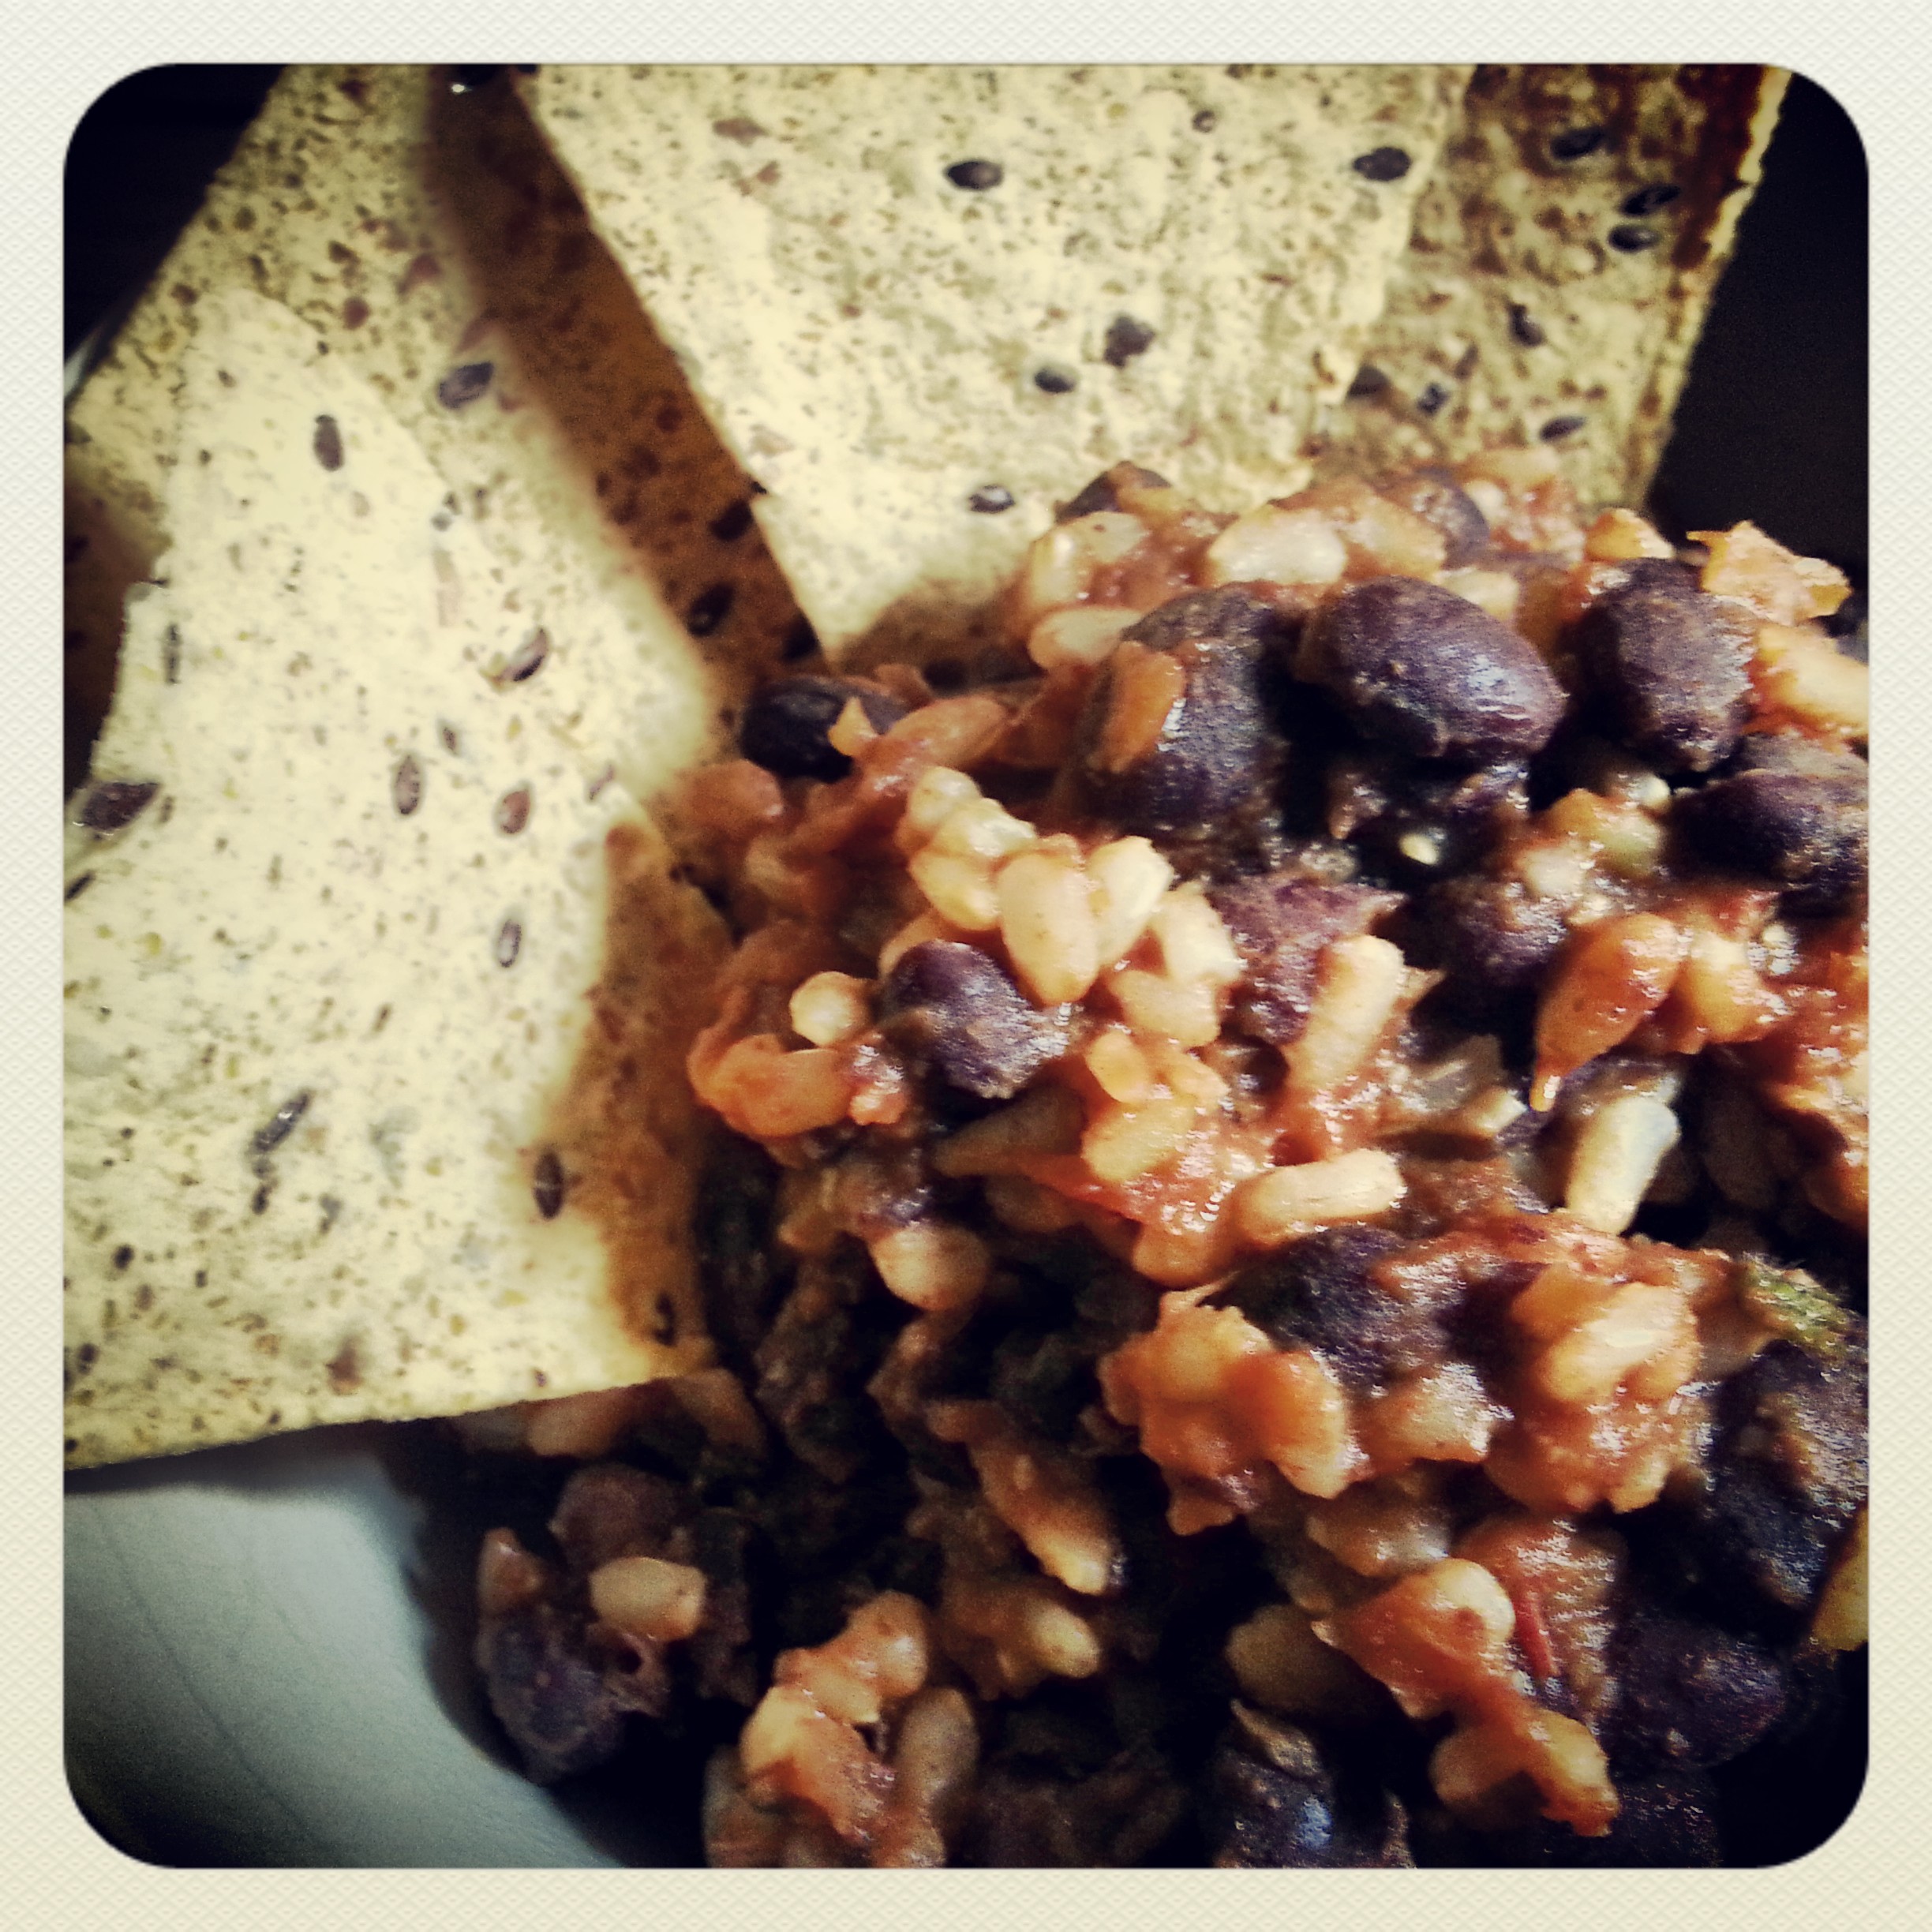
- Serve it with your favourite corn chips, and enjoy it all! I love Neal Brother’s Blue Corn + Flax chips with this dip. Enjoy!
Note: Soaking cashews (or any nuts or seeds) in salt water creates a reaction that gets rid of the phytic acid in your nuts and seeds. This means that you’ll be able to absorb more nutrients from these wonderful foods! Just don’t use the salt water for anything else – it’s got all the unwanted phytic acid in it. Always rinse your nuts and seeds post-salt-soak with fresh water to ensure you get as much phytic acid off of them as possible. The whole goal with the soaking and removing phytic acid is stronger bones and teeth, and better absorption of the amazing nutrients in nuts and seeds.